

Overview
A guide of sending and receiving Encrypted Emails with Office 365.
Procedure
Sending an Encrypted Email
1. In order to sending an encrypted email with sensitive information, add one of the following to the email subject line:
{protect} [protect] {encrypt} [encrypt]
The brackets are required, but the word is not case sensitive e.g. [PROTECT] will work as will {protect}.
Receiving an Encrypted Email
If the encrypted email is being sent to another account with Office 365, the email will automatically be decrypted on delivery. However if the email is being sent to someone who doesn’t have an Office 365 account they will receive an email with an attachment:
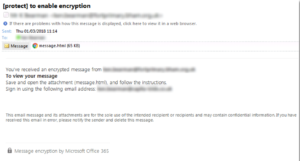
The user should open the attachment that reads message.html and follow the on screen instructions. The screen may look like this:
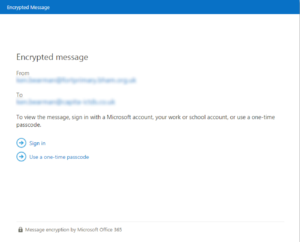
If the user has a Microsoft account associated with the email address they can simply sign in and will then be able to see the encrypted message. However, if they don’t have a Microsoft account associated with the email address they should click “Use a one-time passcode” which will be emailed to the user and will look like this:

The passcode should be then entered into the page when you try to access the email with one-time passcode, looking like this:

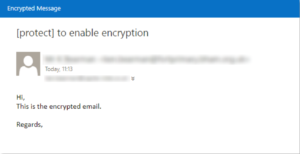
The encrypted email will now appear in the browser, an example this below:
Last Update: September 30, 2020